Get from a sealed box to a working AI assistant in a few minutes.
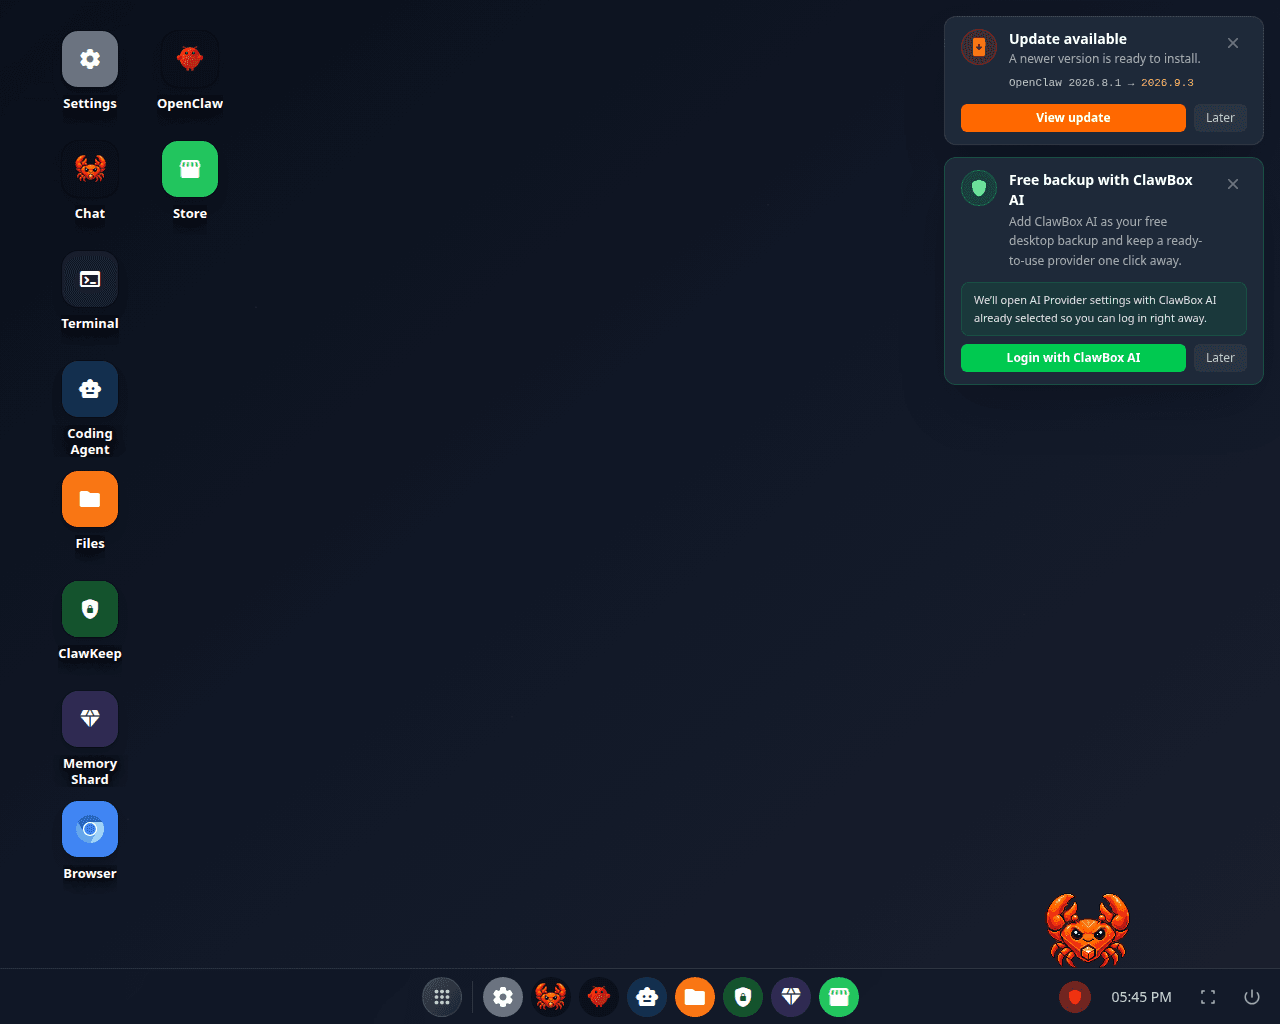
The ClawBox desktop once setup is finished
These steps are the same for both editions. Your box arrives already running the
agent you chose at checkout — OpenClaw on ClawBox (Connect), or Hermes Agent
on ClawBox Hermes Edition. There is nothing to install or select on first boot.
1
Power on
Connect the included USB-C power supply and (optionally) an Ethernet cable.
ClawBox boots in about a minute; the ClawBox-Setup network appearing in your Wi-Fi list is the signal that it is ready.
2
Join the setup hotspot and open the wizard
On first boot the box has not joined your network yet — it hosts its own. From a phone
or laptop, join the open ClawBox-Setup Wi-Fi network and browse to
http://10.42.0.1 (http://10.43.0.1 if your network already uses 10.42.0.0/24).
See First Boot.
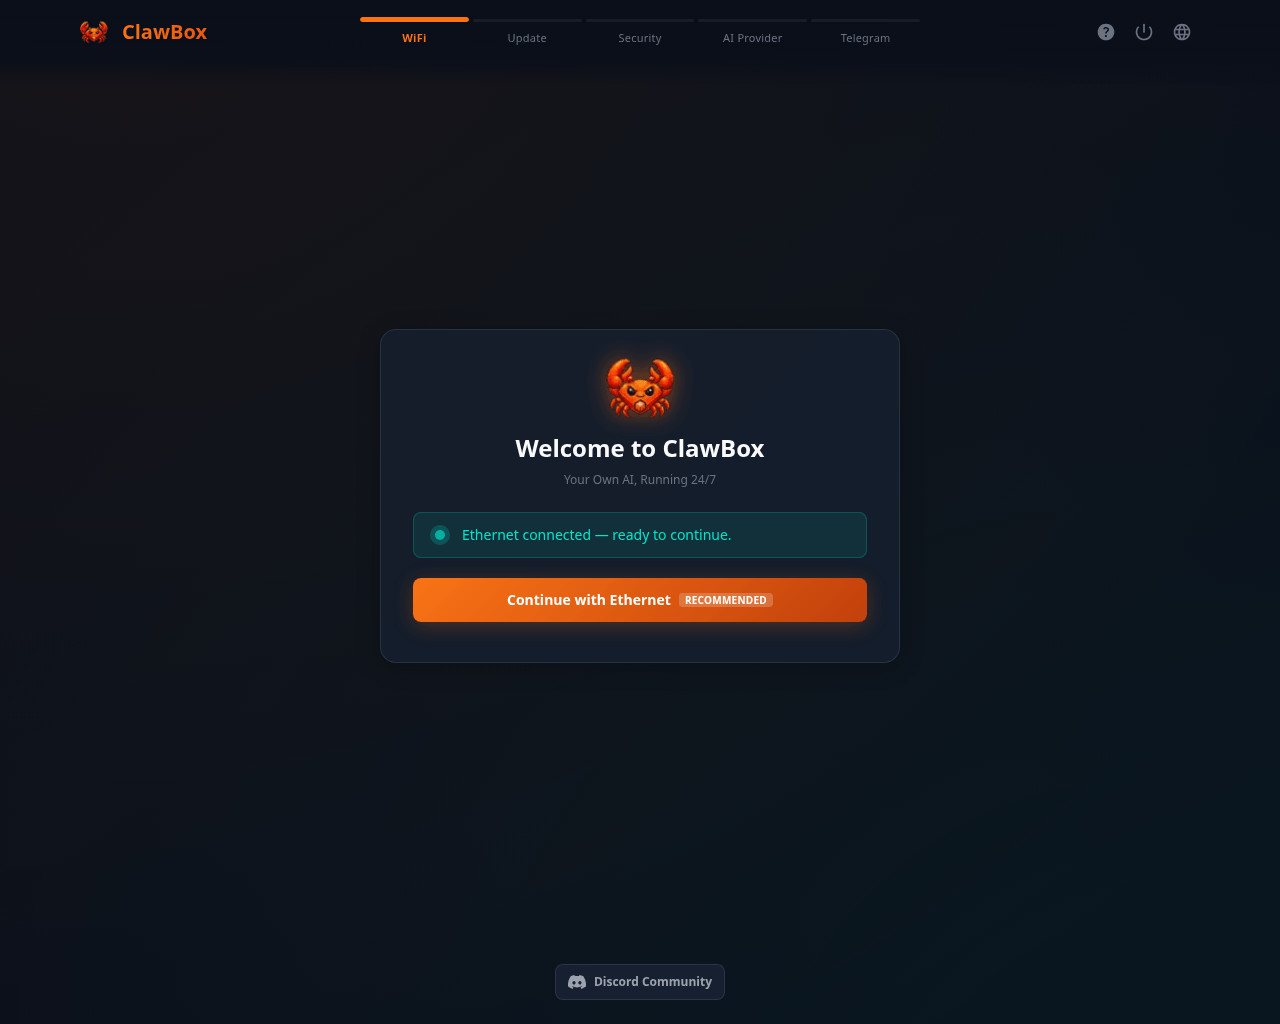
The wizard's first screen, with the Ethernet cable already detected
3
Connect to the internet
Join your Wi-Fi or confirm the Ethernet connection, then rejoin your own network to
continue. See Connect to a Network. Afterwards the box lives at
http://<device-ip>, or http://clawbox.local where mDNS works.
4
Update and set your password
The wizard runs a system update, then asks you to set the device password — the same one
for the browser login and for SSH.
5
Pick your AI provider
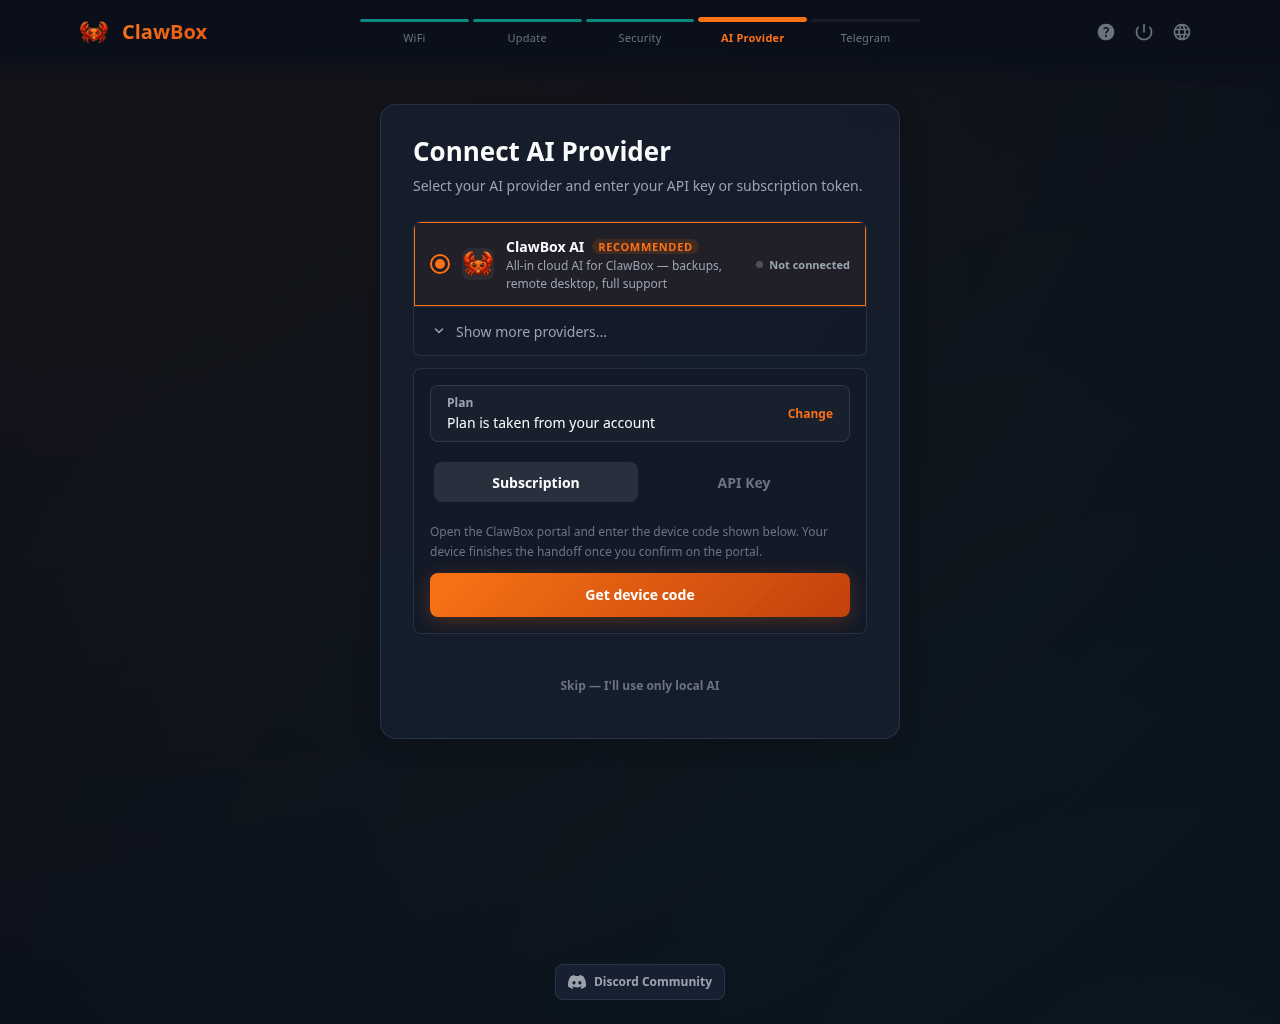
ClawBox AI works out of the box. To use Claude, GPT, Gemini, or a local model,
follow Choose Your AI Provider.
The step opens on ClawBox AI; Show more providers reveals the rest
6
Link a chat app
Connect Telegram and message your ClawBox — or Discord, WhatsApp or email, from
Settings → Channels. You can also use the web chat built into the ClawBox desktop.
See Messaging Channels.
Send a message like “Hello, what can you do?” from your linked chat app. A reply means your ClawBox is live.